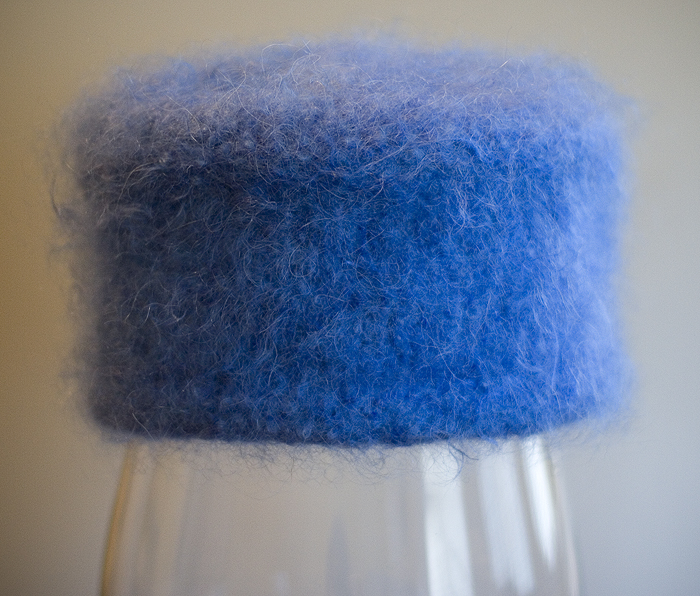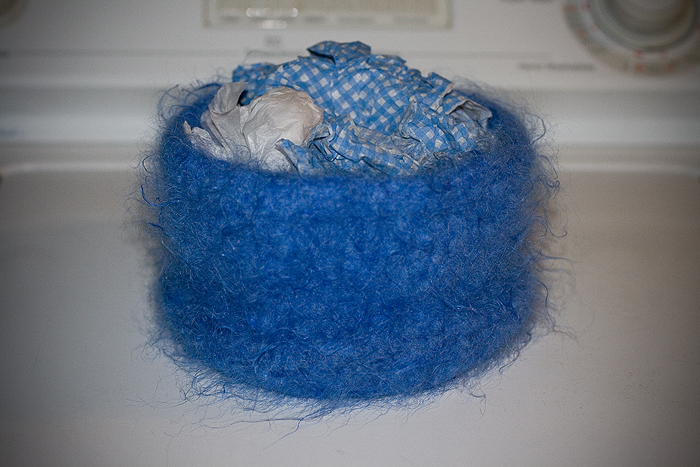
The felting process was so much fun, and so much easier than I imagined. I can't wait to knit another hat and watch the transformation.
In case you're interested, here are the steps involved...
You will need: a top-loading washing machine set to hot (for some reason front loaders don't work as well for felting. I think it has something to do with rougher agitation in top loaders); a pillowcase (a zippered one is best); laundry detergent, a timer, knitted piece to be felted.
1. Put a very small amount of detergent into your top loading washing machine (use about 1/4 of what you normally use)
2. Place your knitted piece in a pillowcase. Zip or tie it closed.
2. Set the machine to it's hottest water temperature, smallest load setting and longest agitation cycle.
3. When the washing machine has filled with hot water, and begins the agitation part of the cycle, throw in the pillowcase.
4. Set a timer for 5 minutes.
5. When the timer goes off, stop the agitation and check for signs of felting. Some yarns felt quicker than others. You might need to reset your machine to start the agitation cycle again once or twice, depending on the length of the cycle and how the felting is going. It's important not to let your washer drain or spin during the felting process, so make sure you watch and listen, and reset it before it starts to drain. Just stop the machine and turn the dial back around so it begins to agitate again.
After a few of these five-minute sessions, you'll start to see the individual stitches disappearing. The fabric will start feeling more firm and solid and somewhat thicker as it gets closer to being done. Once you start seeing the stitches disappearing, start checking the piece more often, every one or two minutes, to make sure you don't take the felting process too far. The felting is done when it looks and feels done. There should no longer be definition to the stitches, and the fabric should be smooth, solid and sort of firm.
6. When you decide the felting is finished, let the machine drain and turn it off. Rinse your felted piece with cool water and gently wring it out.

7. At this point you need to bring the piece to its final shape and keep it that way until it's totally dry. This involves a little pulling and stretching to get it to the shape you want. In the case of a hat, at this point it is essential to try it on the person's head who will be wearing it. If it's too large, toss it back into the machine and start the agitation process again, but this time don't bother to use detergent, and run it on a shorter cycle. If it's too small, stretch it over a bowl or some other object that's the approximate size of your head. Mine needed another five minutes. This made it about another inch smaller and fit my head perfectly.

I found this vase that was about the size of my head. But I didn't need to stretch mine.
8. I then placed the hat on a towel and stuffed it with tissue paper to keep it in shape.
9. Let it dry for 2-3 days.

When Iz saw the finished hat, she said, "That's nice! Just in time for spring!"
Where does she get that sarcastic sense of humor?